
To create a checkpoint:
- On the main menu on the left-hand side of your Staffwizard page, click on the"Clients" tab, select the "Clients List" and locate the client on the list or use the filter to find it.
- Open the client's information, locate the "GPS+ Form Settings" tab, and click it.

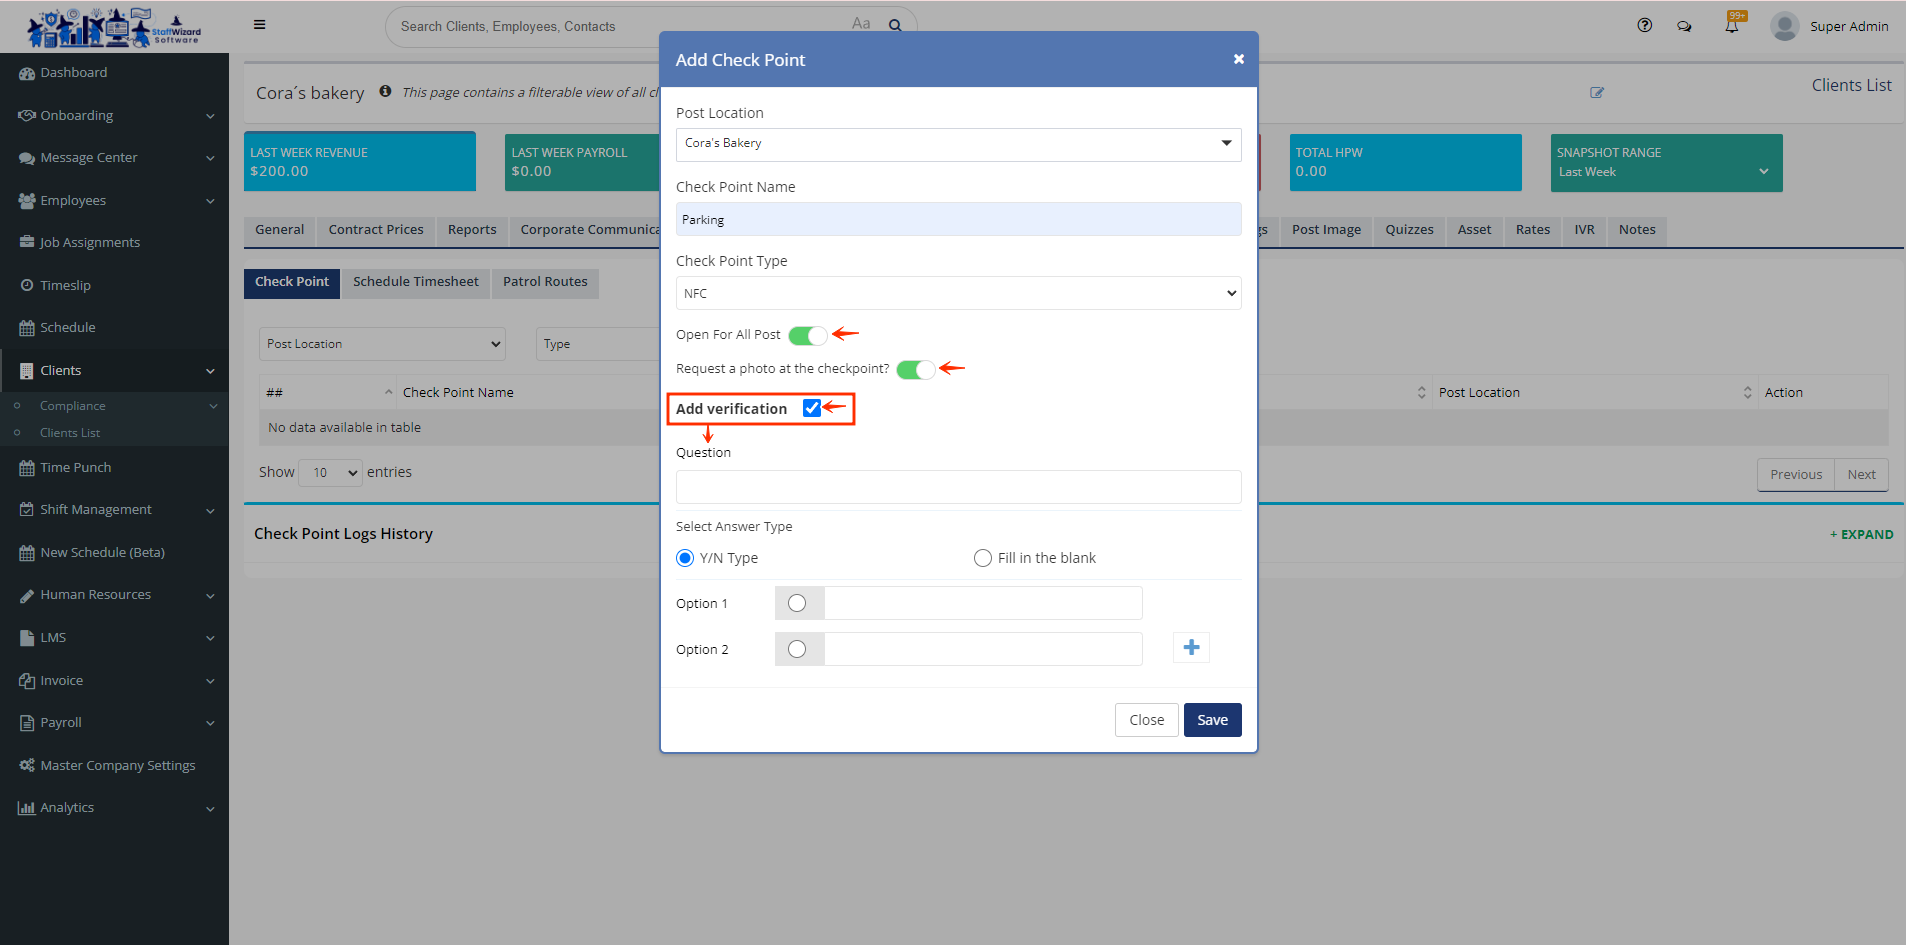
- Locate the button [+] and click it to add a checkpoint. There you can select the Post Location, you can name the checkpoint, and choose the type of the checkpoint. (NFC, GPS, or QR Code).
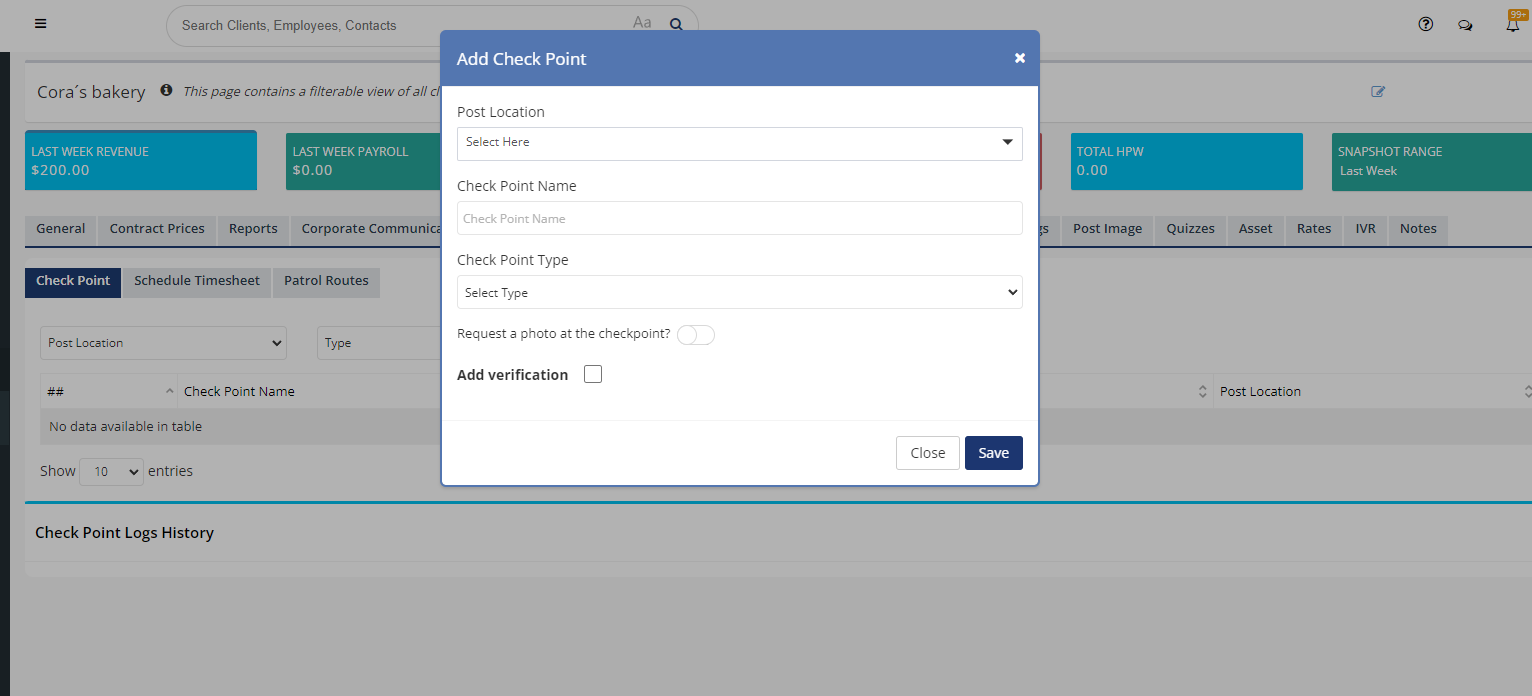
- In the same section, you can enable the option "Open for all Posts" which makes that checkpoint setting active for all posts. Besides you can request a photo and enable the checkbox "Add verification" and you can type a question for the employee to answer once they scan the checkpoint. Once all set, click the button "Save".
To create Patrol Routes: - Once you have created the checkpoints you will be able to include all or several of them to create a patrol route.
Click the section "Patrol Routes" and the button [+]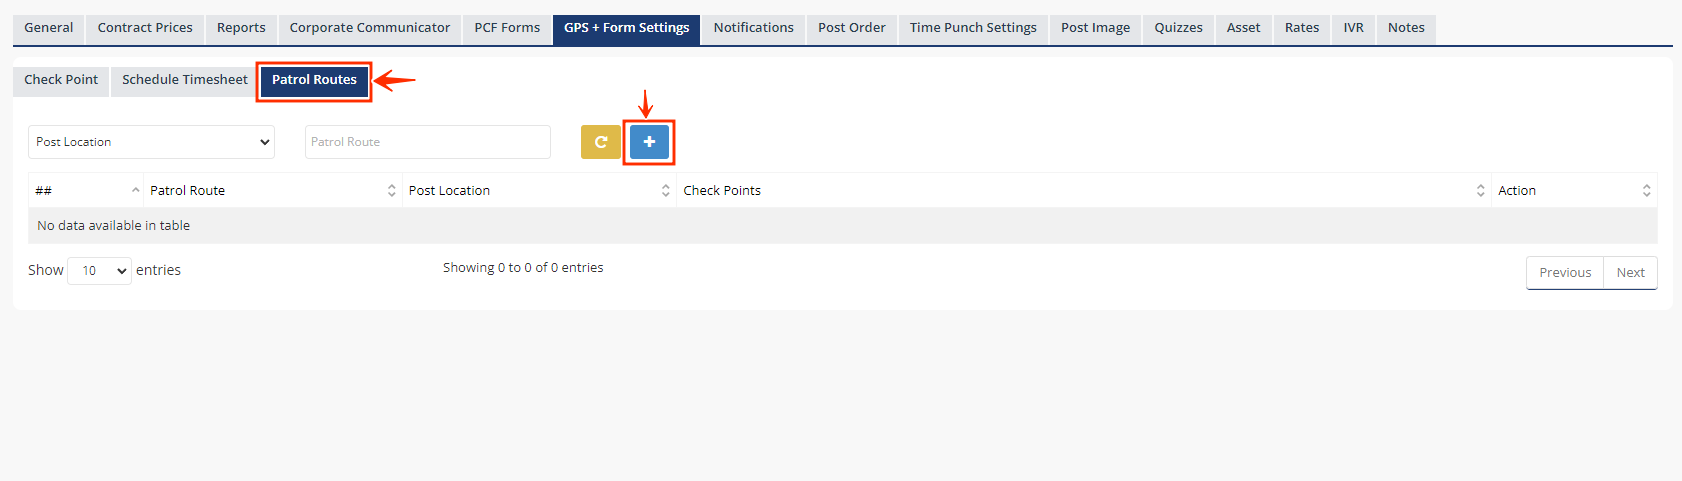
- There you can name the patrol and add the post location name. In the third option, you select the checkpoints that you want to include in the route.
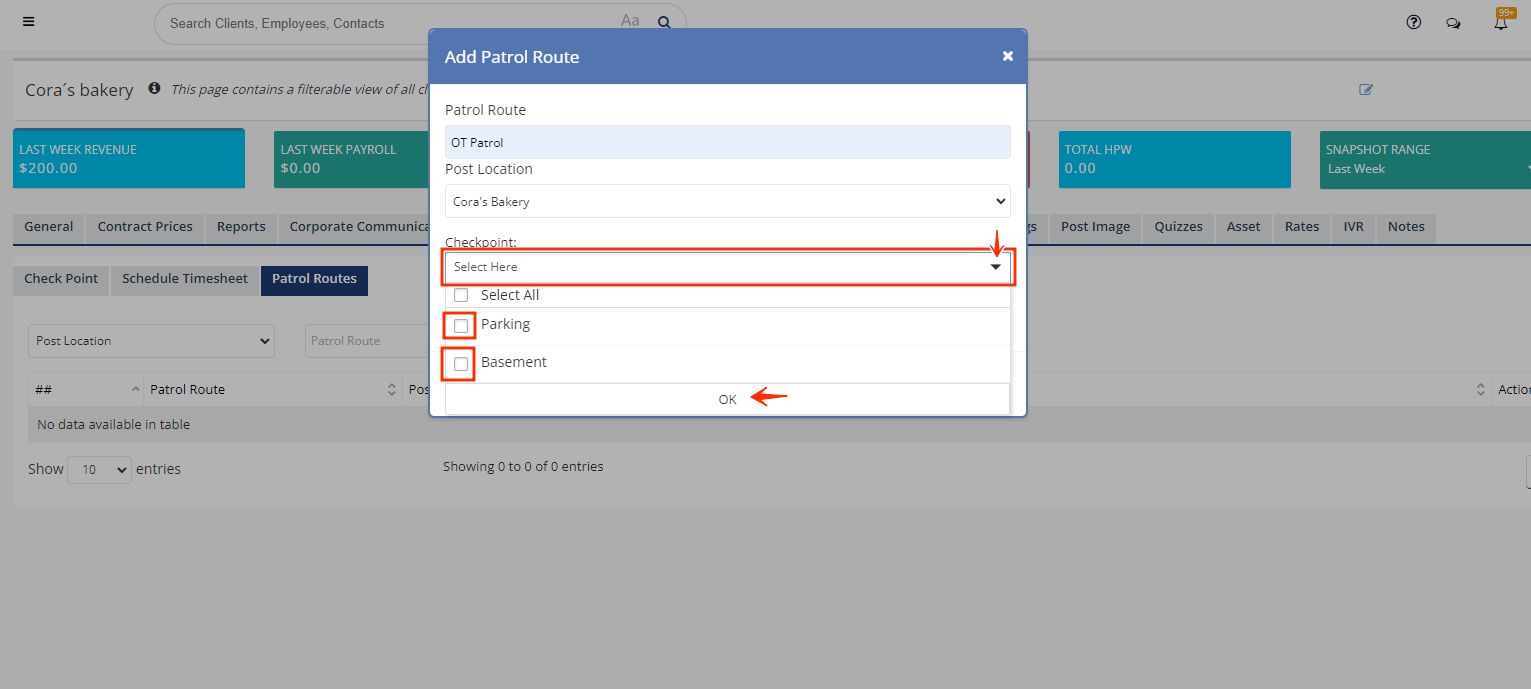
- Once you have selected and included all the checkpoints for the patrol, click the button "Save".
Related to